The holiday season is a time for generosity, and nothing says “I care” quite like a thoughtfully assembled Christmas hamper. Yet, many of us treat the hamper like a simple basket of goodies, missing the chance to turn it into a sparkling centerpiece. In this guide, we’ll walk through the steps of how to create a festive presentation for a Christmas hamper—from theme selection to the final flourish—so your gift stands out like a star on the tree.
Planning Your Hamper Theme
Choosing a theme is the first step toward a cohesive and memorable hamper. Think of it as setting the stage for a holiday play: every prop, costume, and lighting choice should support the story you want to tell.
Choosing a Color Palette
A color scheme gives your hamper visual harmony. Traditional reds, greens, and golds evoke classic Christmas vibes, while a modern palette might feature navy, silver, and white. Stick to two or three colors to avoid a chaotic look.
- Classic: Red, green, gold Modern: Navy, silver, white Cozy: Burgundy, cream, forest green
Selecting the Right Items
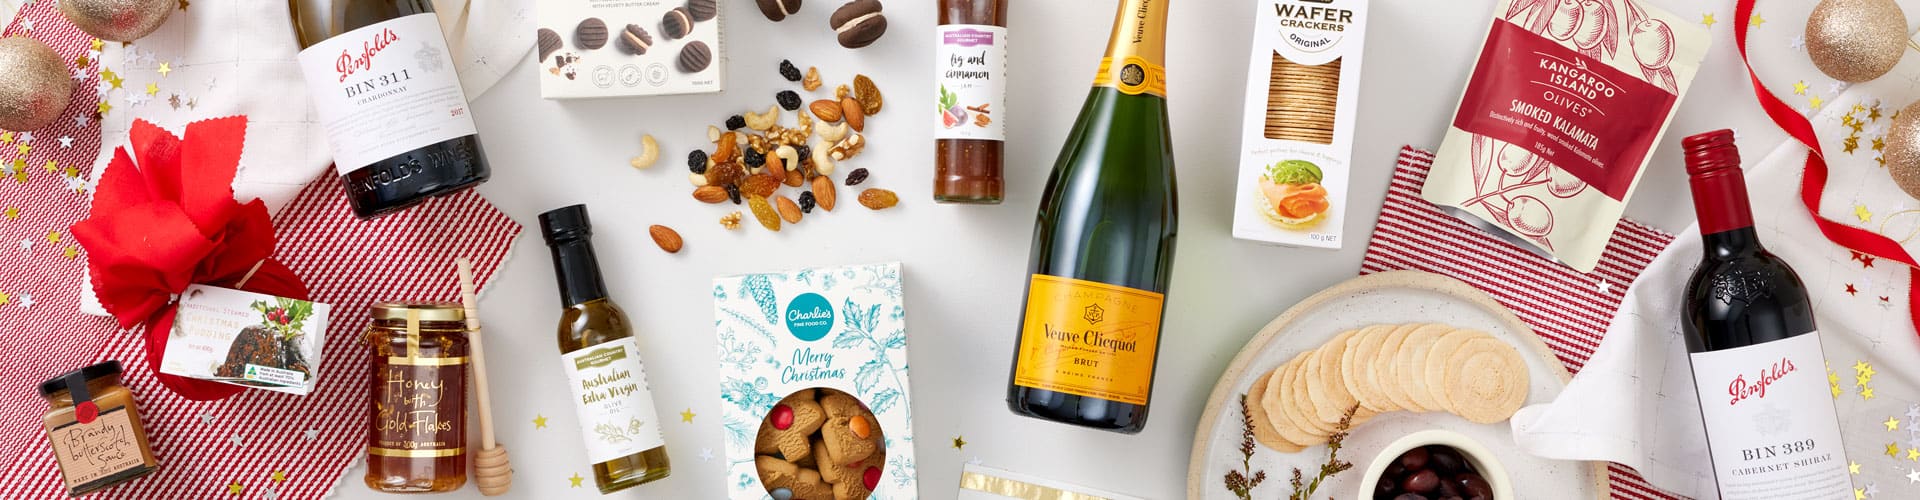
The items you choose should reflect the theme and the recipient’s tastes. A well‑balanced hamper includes sweet treats, savory snacks, a personal touch, and a small indulgence. For instance:
- Sweet: Gingerbread cookies, truffles Savory: Artisan crackers, cheese cubes Personal: A handwritten note, a small photo Indulgence: A bottle of sparkling cider or a hot chocolate mix
“ The best gifts are those that come from the heart,” says Maya Angelou, reminding us that thoughtfulness trumps extravagance.
Assembling the Hamper
Once you’ve gathered your items, it’s time to assemble them into a visual masterpiece.
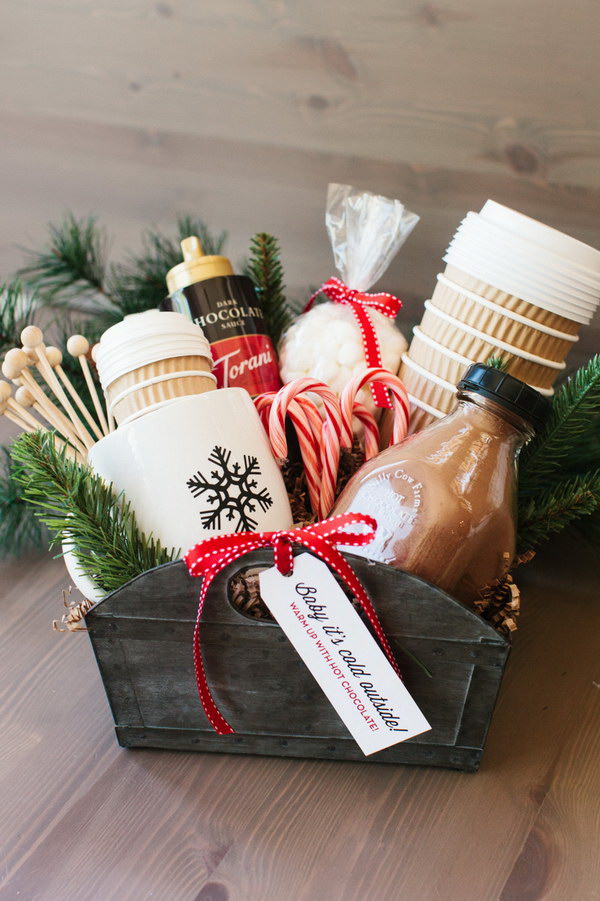
The Base: Choosing the Right Box or Basket
A sturdy, attractive base is essential. Options include:
- Wooden crates for rustic charm Woven baskets for a natural feel Reusable gift boxes with a festive design
Make sure the base fits the size of https://files.fm/u/z7eqdvku6t your items and offers enough room for decorative accents.
Layering for Visual Appeal
Layering is like arranging notes in a song—each layer should add depth without drowning the others. Start with a base layer of shredded paper or tissue in your chosen color. Place the heaviest items on the bottom, then layer lighter ones on top. Use small, decorative fillers (like dried cranberries or mini pinecones) to fill gaps and add texture.
> “A well‑orchestrated hamper is a chorus where each item harmonizes with the next.”
> — Unk.
Adding Personal Touches
Personal touches transform a generic hamper into a treasured keepsake. Consider:
- A custom label with the recipient’s name A hand‑stitched ribbon that matches the color palette A small, framed photo of a shared memory
These details show that you’ve invested time and thought, not just money.
Decorating for a Holiday Glow
Decoration is the icing on the cake, turning a good hamper into a great one.
Wrapping and Finishing Touches
Wrap the hamper in festive paper or a patterned cloth. Secure it with a wide ribbon—think of it as the bow on a present. Add a decorative tag that says, “Merry Christmas” or a playful note like “Enjoy the spoils of the season!”
- Use natural fibers for a rustic look Choose metallic accents for a touch of glam
Using Natural Elements
Nature’s own ornaments—pinecones, holly, dried orange slices—add authenticity and fragrance. Sprinkle them around the hamper or tuck them into the basket. They’re inexpensive, biodegradable, and instantly evoke the holiday spirit.
Presenting Like a Pro
A great hamper deserves a grand entrance. Think of this stage as a holiday performance.
Timing and Delivery
Present the hamper at a moment when the recipient is relaxed and receptive. A surprise during a cozy family gathering often works best. If you’re delivering it in person, carry it with confidence and a smile.
- “Do you want your hamper to sparkle like a Christmas tree?” “Will it leave a lasting impression?”
Adding a Festive Note
Attach a handwritten card that explains the hamper’s contents or shares a holiday wish. A personal message is the final touch that turns a simple gift into a memorable experience.
Final Touches and Common Mistakes
Even a well‑planned hamper can falter if overlooked details slip through. Let’s address the pitfalls.
Checking for Balance
Ensure the hamper feels balanced—no single item should dominate the visual field. If one item is too large, pair it with smaller complementary pieces.
- Pro tip: Use the “rule of thirds”—divide the space mentally into thirds and place key items at the intersection points.
Avoiding Overcrowding
An overcrowded hamper feels cluttered and can ruin the aesthetic. If you’re short on space, consider a smaller basket or add a second hamper for a layered look.
- Common mistake: Packing everything in without regard for spacing.
The Perfect Gift Awaits
When you finish assembling, decorating, and presenting your hamper, you’ll have created a gift that feels both luxurious and heartfelt. The process is like preparing a holiday feast: each step builds on the last, culminating in a celebration of generosity and joy.
Remember, the goal isn’t just to fill a basket—it’s to craft an experience that warms the heart. Take a moment to step back, admire your handiwork, and imagine the recipient’s delight. Then, with a confident smile, hand over the festive presentation and watch the holiday magic unfold.